7 Picture Frame Molding Ideas for Modern and Timeless Wall Decor
Picture frame molding is a simple way to add style and interest to plain walls. It creates a clean, structured look that can improve the design of any room without needing a full remodel. This classic detail works well in many spaces, from living rooms to bedrooms.
It helps bring texture, depth, and a touch of elegance to walls, making them more visually appealing. Many people use picture frame molding to highlight art, add character, or create a polished, finished feel in their home.
1) Full wall picture frame molding extending floor to ceiling
This style covers the entire wall from floor to ceiling. It breaks up large blank walls into neat sections. The design adds depth and a structured look without needing paint or wallpaper changes. It works well in rooms with tall ceilings. For more ideas, see full wall molding designs.
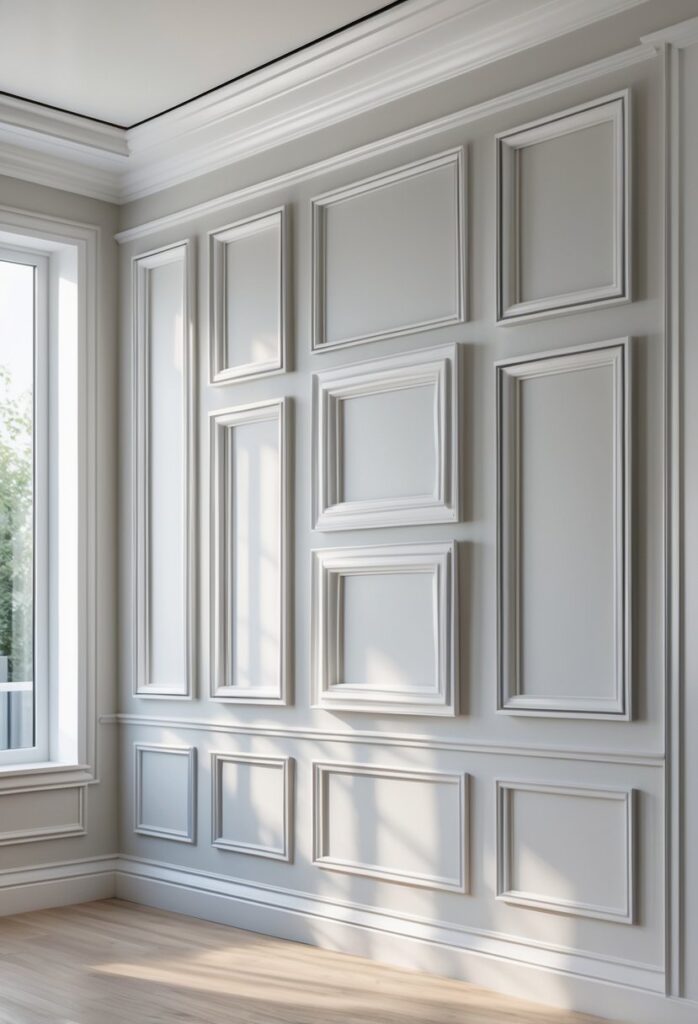
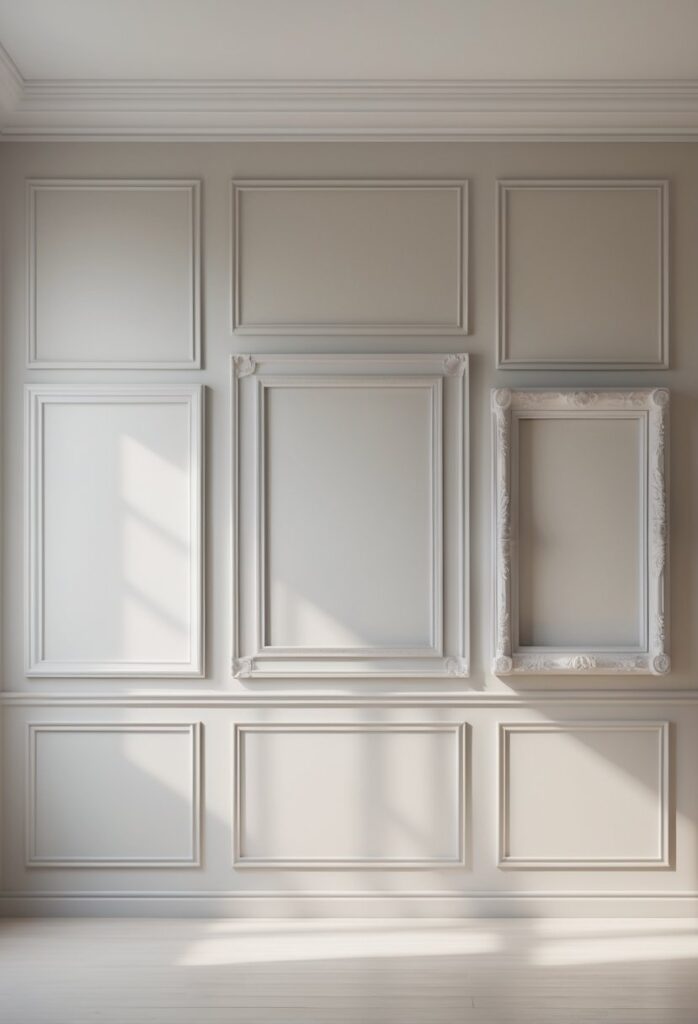
2) Picture frame molding arranged in squares on bottom and rectangles on top

This design uses smaller square frames on the lower wall and larger rectangular frames above. It adds depth and visual balance to the room.
The contrast between shapes creates interest without clutter. It works well on a full back wall to highlight architectural detail and complements simple decor.
This style is easy to plan by marking outlines with painter’s tape before installing the molding. It can make a plain wall stand out with subtle texture and structure.
For more ideas on arranging molding shapes and sizes, see this example of picture frame molding in squares and rectangles.
3) Incorporating molding around doors and windows
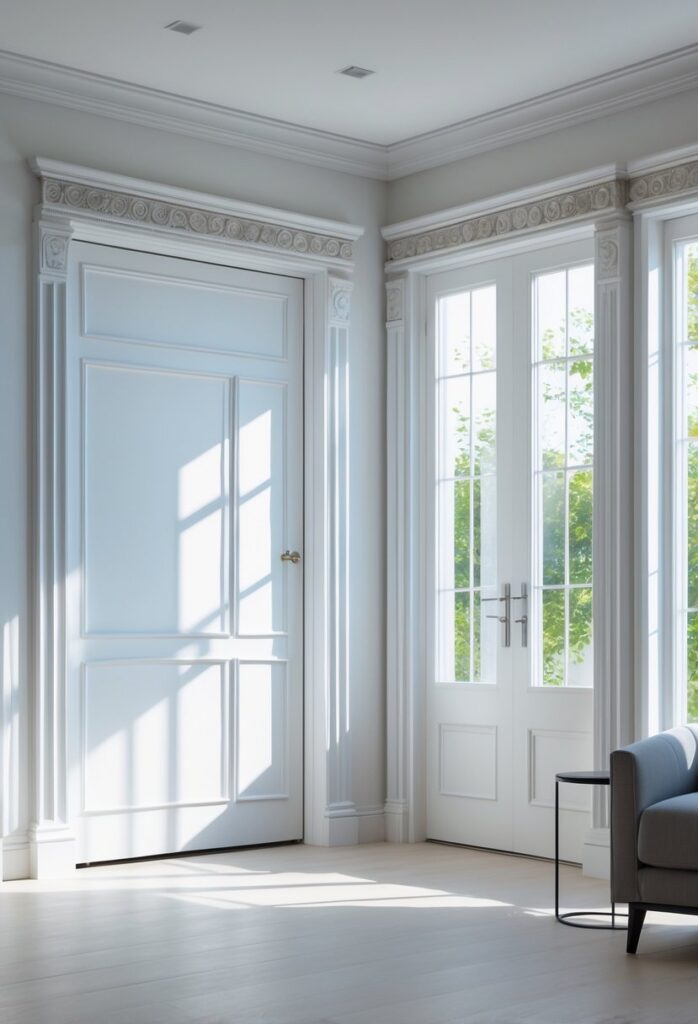
Adding picture frame molding around doors and windows creates a polished look. It highlights these architectural features and adds depth to plain walls. The molding can be sized to fit each opening, making the space feel more detailed and refined.
This technique works well in many styles, from classic to modern. It draws attention without overwhelming the room. For more ideas, see picture frame molding around windows and doors.
4) Using chair rail combined with picture frame molding
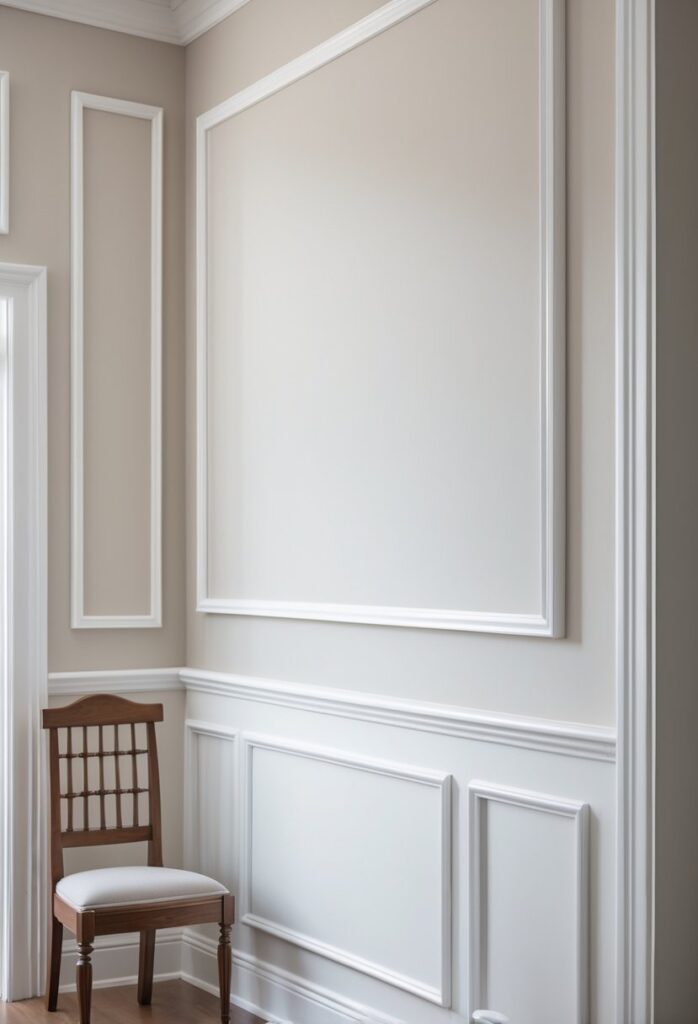
Combining a chair rail with picture frame molding adds depth and texture to walls. The chair rail runs horizontally, while picture frame molding creates decorative panels below. This classic design creates a refined look with simple materials and clear lines.
It is easy to paint just the molding or the molding and wall behind it. This technique can mimic traditional wainscoting without the cost or thickness of full panels. Many use it to add character in dining rooms, nurseries, or hallways.
Adding these moldings requires careful measuring but offers great flexibility in design. For detailed steps on installing chair rails and molding, see this guide on how to install picture frame molding with a chair rail.
5) Minimalist molding with bare walls to highlight architecture
This style uses simple picture frame molding with no extra wall decorations. The bare walls let the molding stand out. It adds subtle depth without cluttering the space.
The minimalist approach works well in modern or clean designs. It highlights the room’s lines and shapes clearly. Plants or furniture provide gentle contrast without competing with the molding.
For ideas, see minimalist spaces using picture frame molding that emphasizes architecture.
6) Layered molding with varying depths for texture
They use different molding layers, each with its own depth. This adds clear texture and makes the wall more interesting.
By combining dentil or egg-and-dart trim with picture frame molding, the design gains dimension. Corner blocks help finish the look neatly. This technique creates subtle yet effective visual appeal. See more ideas on layering molding for texture.
7) Painting molding in contrasting colors to enhance detail
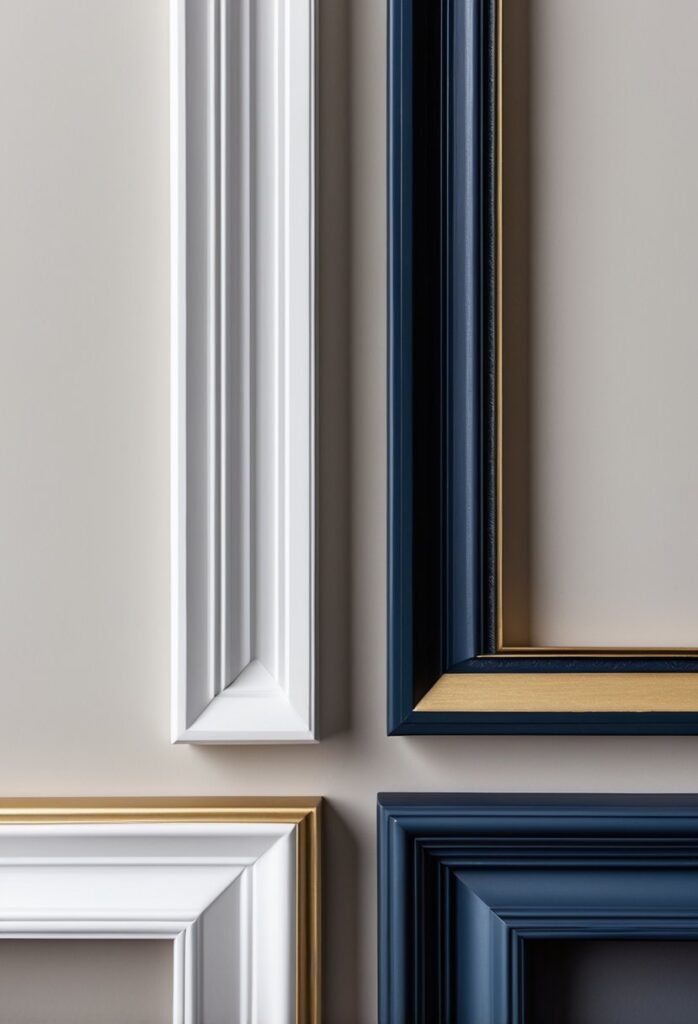
Painting picture frame molding in a color that contrasts with the wall helps the trim stand out. This highlights the shapes and adds depth to plain walls.
It draws the eye to the molding’s design. Using bold or complementary colors can create a strong visual effect that fits many room styles.
This technique works well in both modern and traditional spaces. It makes the molding more visible and adds character to the room without extra decor.
For more ideas on this approach, see picture frame molding painted in different colors here.
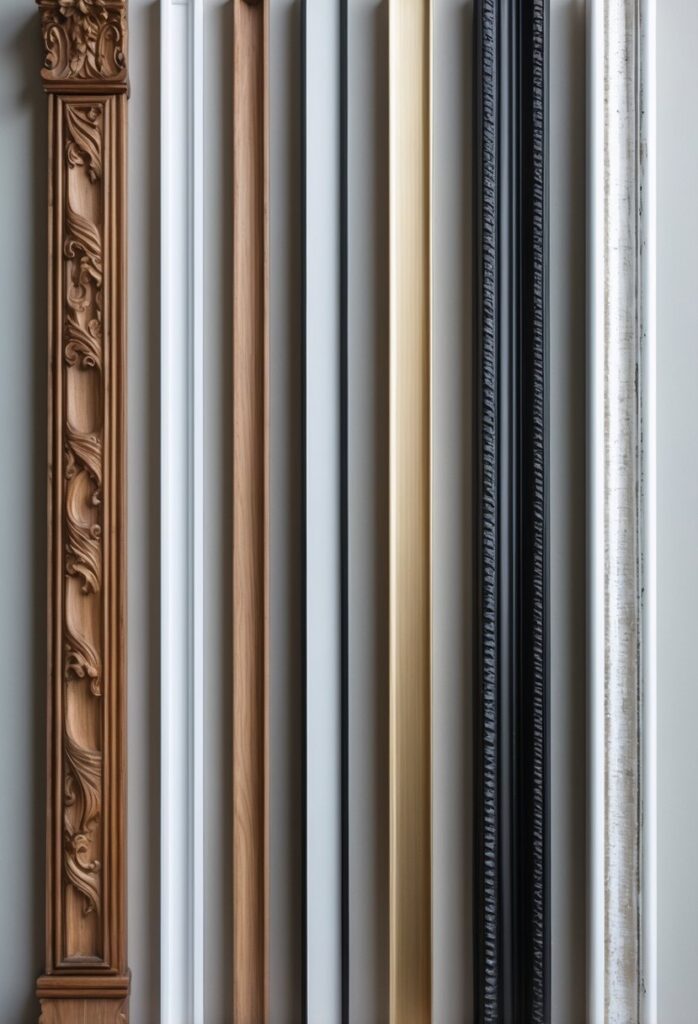
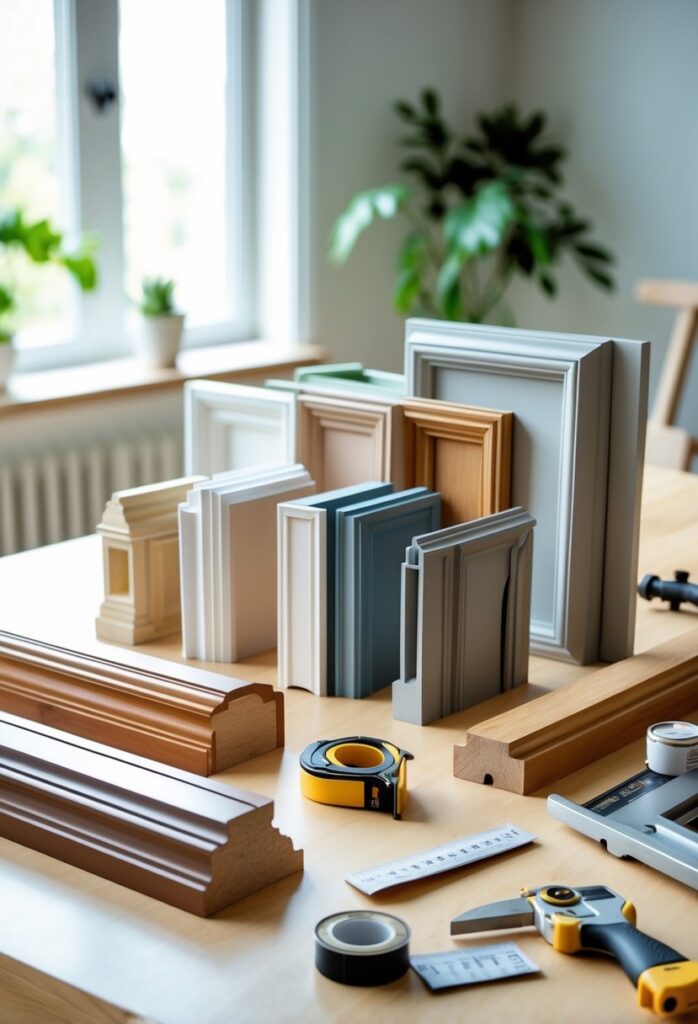
Choosing the Right Materials
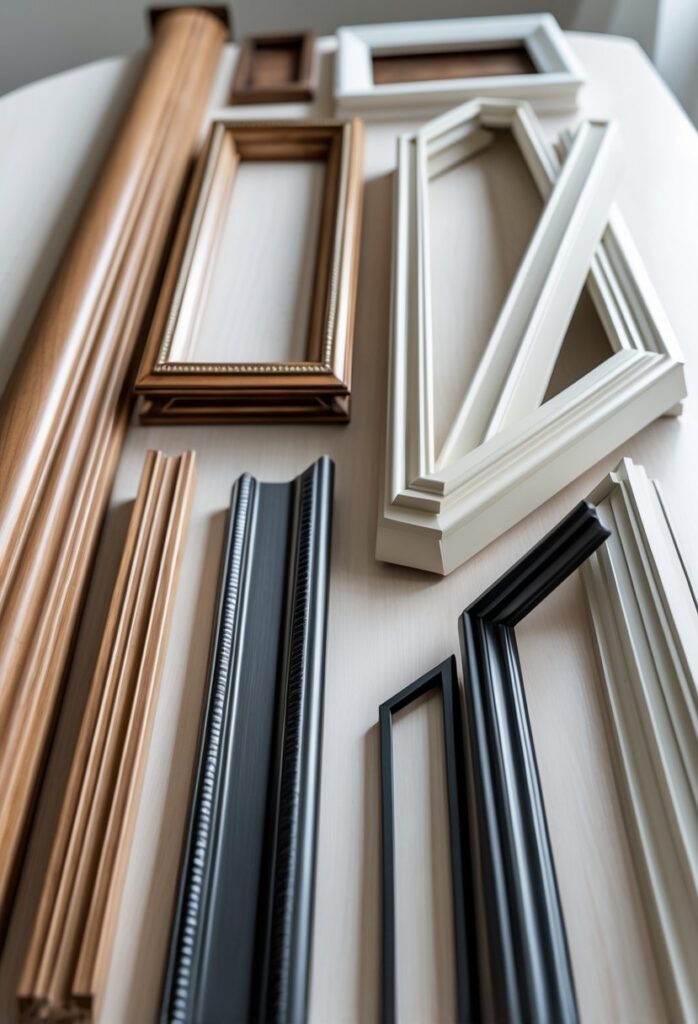
Selecting materials for picture frame molding is essential for durability and style. The choice affects how the molding looks, feels, and lasts over time. Attention to material type and surface finish helps ensure the molding matches the room’s design and holds up to wear.
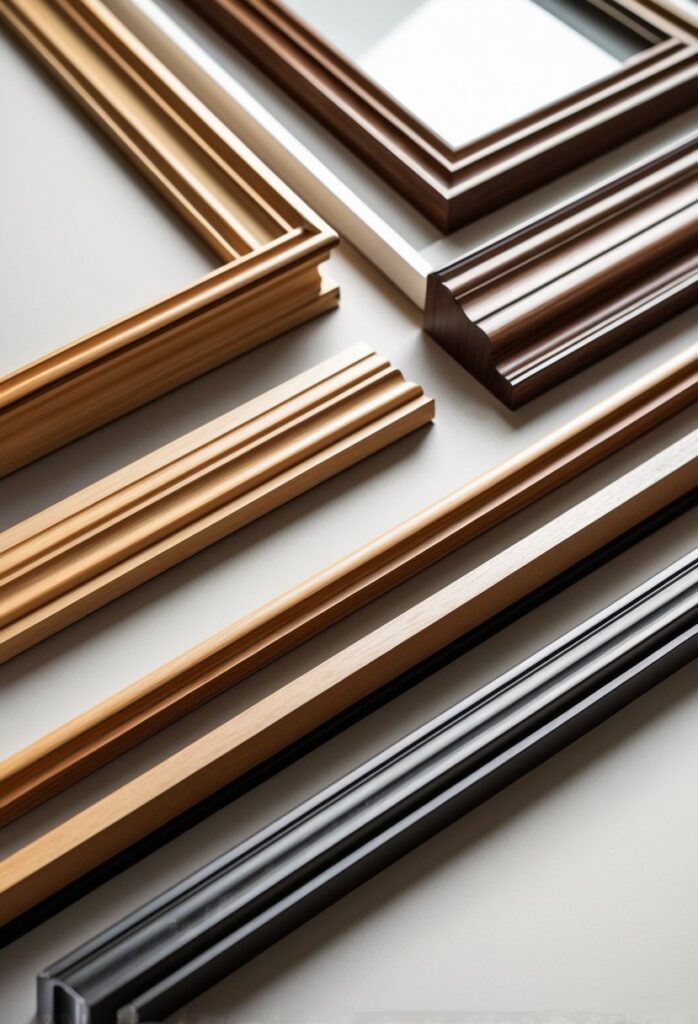
Wood Versus MDF
Wood is a popular choice for its natural grain and strength. It offers a traditional look and can be stained or painted easily. Common woods like pine, oak, or maple vary in cost and hardness. Wood molding is ideal for high-end or classic interiors where durability matters.
Medium-Density Fiberboard (MDF) is a budget-friendly alternative. It’s smooth, uniform, and easy to cut, making it good for intricate designs. MDF takes paint well but doesn’t stain like wood. It is less resistant to moisture, so it’s better suited for dry spaces.
Choosing between wood and MDF depends on the budget, desired finish, and room conditions. Wood works well where natural texture is important; MDF suits painted, decorative applications.
Paints and Finishes
The right paint or finish protects molding while enhancing its style. Primer is key for preparing the surface, especially on MDF, which absorbs paint more. Use a high-quality, durable paint such as semi-gloss or satin for easy cleaning and a polished look.
Wood can also be stained or sealed instead of painted. Stains highlight the grain and add warmth. Varnish or polyurethane finishes add protection against scratches and moisture.
Common options include:
- Latex paint: Easy cleanup and low odor
- Oil-based paint: Durable, smooth finish but longer drying
- Stain and seal: Best for natural wood look
Finishing choices depend on the material and desired visual effect. Proper preparation and protective coatings extend the molding’s lifespan and appearance.
For more on material selection and application, see Picture Frame Molding Tips and Techniques.
Installation Tips for Lasting Results
Proper planning and careful preparation are essential for a clean, durable picture frame molding installation. Precise measurements and the right tools help avoid mistakes and create sharp, professional-looking edges.
Measuring and Laying Out Frame Molding
Accurate measurements are the foundation of any successful molding project. It’s important to measure each wall carefully, marking the exact placement for each frame. Using a pencil and a level ensures the lines are straight and even. Measuring twice helps prevent cutting errors and wasted material.
When marking the layout, spacing between the frames should be consistent. The size of the molding and the wall dimensions will guide how many frames can fit. The layout should be dry-fitted before attaching any pieces to check alignment.
Planning the design on graph paper or using masking tape on the wall can help visualize the final look and make adjustments easier.
Tools and Techniques for Precision
For clean corners and edges, using a miter saw or miter box is essential to cut the molding at 45-degree angles. This creates tight, seamless joints. If power tools are not an option, miter shears work well for straight cuts and smaller profiles.
Using finishing nails or adhesive designed for molding keeps the trim firmly attached. A nail gun speeds this up and reduces damage to the wood. When joining corners, wood filler or caulk can fill small gaps for a smooth finish.
Sanding the edges before painting or staining helps create a polished look. Finally, always wear safety gear like goggles and gloves when cutting or nailing. Reliable tools and careful technique result in a sturdy, professional installation.
For more details on step-by-step instructions and tips, see this guide on how to install picture frame wall molding.