8 Peel And Stick Floor Tiles For Bathroom That Look Designer-Level
Want a bathroom glow-up without demo dust and contractor drama? Peel-and-stick tiles deliver instant wow for renters and budget renovators. They’re waterproof, easy to cut, and surprisingly durable when you prep right. Let’s jump into eight styles that look custom, install fast, and make your floors the star.
1. Marble-Look Luxe Without the Marble Price
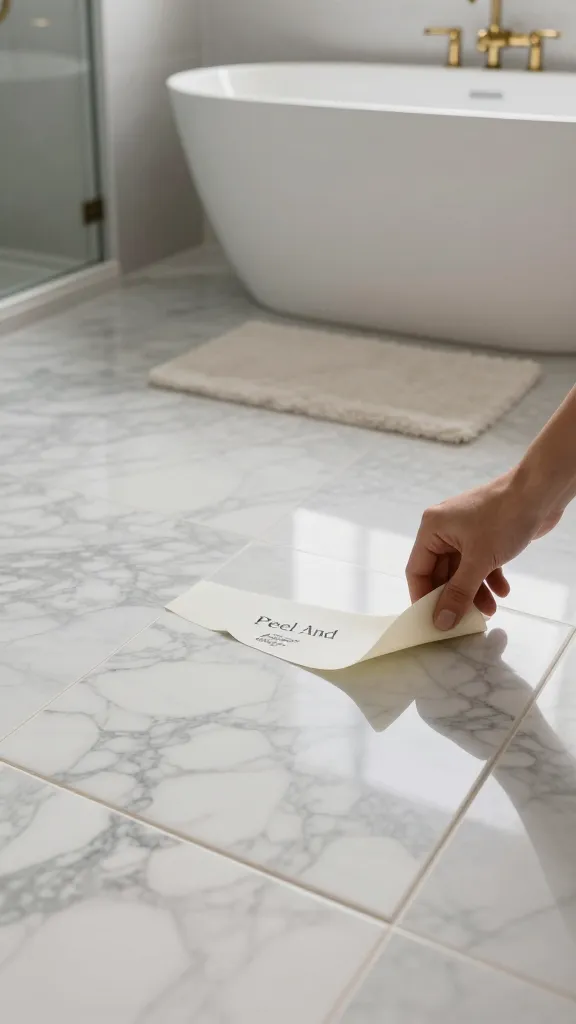
Craving that hotel-spa vibe? Marble-look vinyl tiles give you dramatic veining and a glossy finish without the cold feet or the cold price. They come in classic Carrara, bold Calacatta, and moody Nero Marquina vibes.
Why It Works
- High contrast veining instantly elevates a small bath.
- Large-format squares reduce grout lines and visual clutter.
- Water-resistant finish handles splashes and steam like a champ.
Lay them in a simple grid or a staggered pattern to soften the lines. Add a plush white bath mat and chrome hardware for a clean, expensive look—FYI, this combo makes even a tiny powder room feel grand.
2. Classic Black-and-White Check That Never Quits

Sometimes you can’t beat a retro classic. Black-and-white check tiles bring diner charm and Parisian chic all at once. They play well with everything from clawfoot tubs to modern vanities.
Tips For Alignment
- Snap a chalk line from the doorway to the far wall.
- Start in the center and work outward to keep the pattern square.
- Trim edges with a sharp utility knife—change blades often for clean cuts.
Go matte for a modern take or semi-gloss for vintage shine. This is your go-to when you want a timeless floor that still looks fresh ten years from now, trust me.
3. Wood-Plank SPC Lookalikes For Warmth

If you love spa-with-cedar vibes, wood-look peel-and-stick planks deliver warmth without worrying about real wood in a wet zone. Choose a tone that matches your vanity or contrasts it for drama.
Key Points
- Water-resistant wear layer keeps swelling at bay.
- Micro-bevel edges add realism and hide seams.
- Long planks visually stretch narrow bathrooms.
Lay planks parallel to the longest wall for that elongated feel. Ideal for bathrooms that need coziness or balance against lots of white tile on the walls.
4. Encaustic-Inspired Patterns That Steal the Show
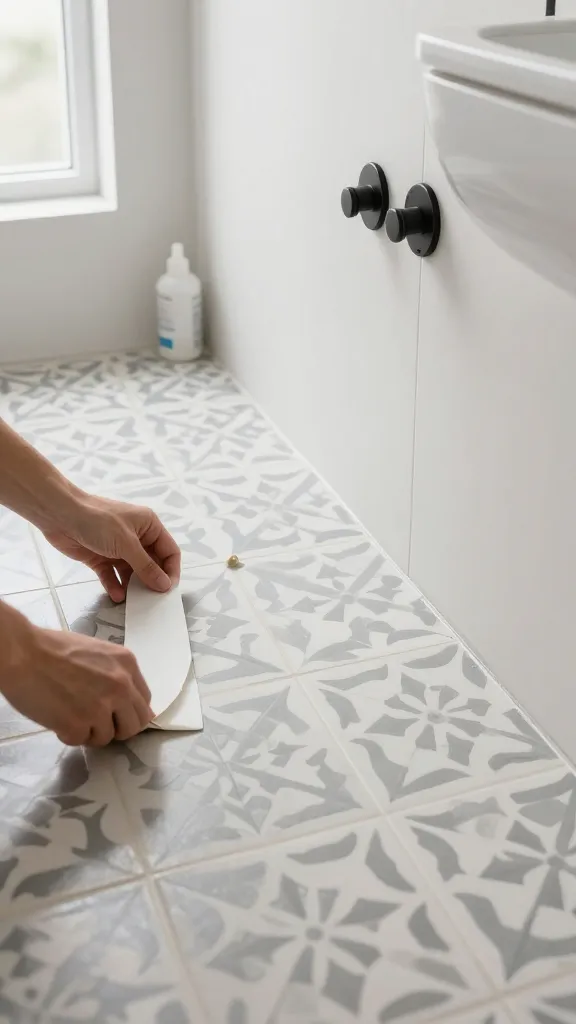
Patterned tiles make your floor the artwork. Encaustic-inspired peel-and-sticks mimic cement tiles with intricate motifs, but they feel softer underfoot and clean easier.
Best Practices
- Pick a two- or three-color palette to avoid visual overload.
- Dry-lay a row first to preview how patterns align at walls.
- Seal seams with a clear edge sealer if you expect heavy splash zones.
They pair beautifully with plain white walls and simple fixtures. Use this when your bathroom needs personality fast and you’re ready for compliments.
5. Hexagon Honeycomb For Modern Minimalists
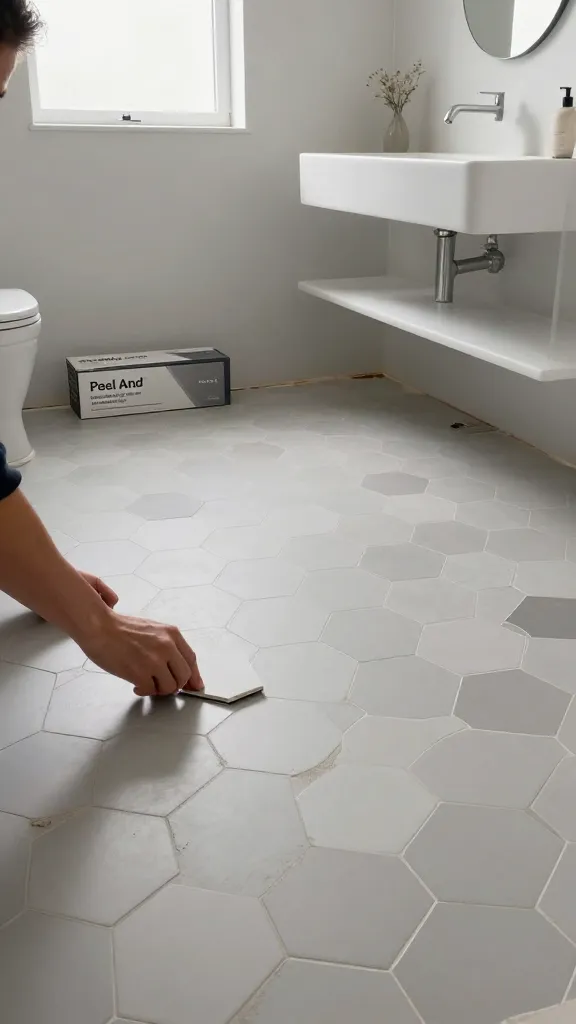
Hex tiles feel modern but timeless. In peel-and-stick form, they deliver that boutique-hotel vibe without the grout haze nightmare.
Tips For Seamless Lines
- Choose sheet-style hex mosaics for easier alignment.
- Go light gray instead of stark white to hide lint and dust.
- Mix matte and satin finishes for subtle dimension.
Hex works best in small baths and powder rooms where pattern makes a big impact. You’ll get clean geometry and a calming, orderly look—seriously satisfying.
6. Terrazzo Speckles For Playful Cool
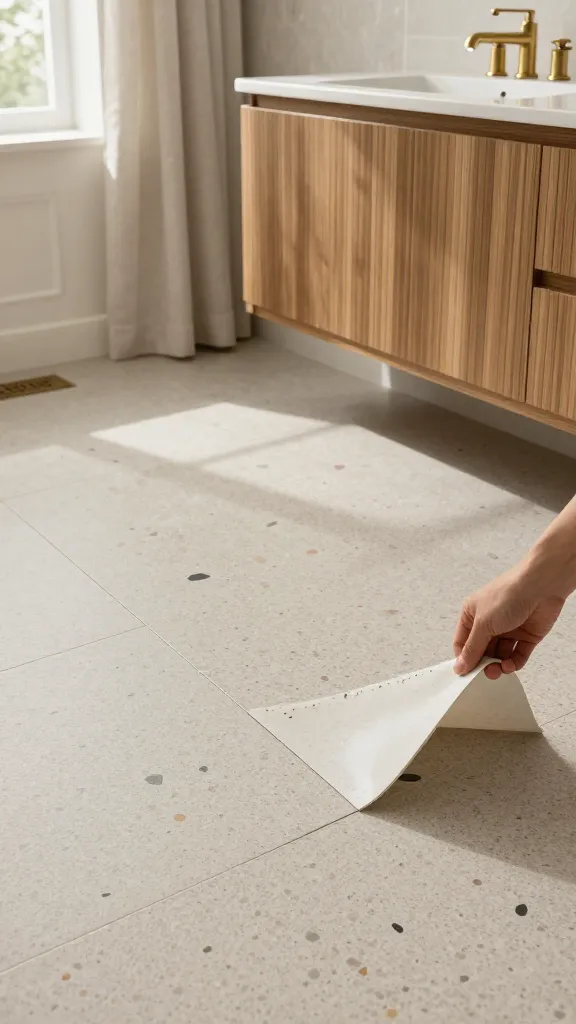
Terrazzo-look vinyl gives you those confetti-like chips without the heavyweight install. It’s fun, graphic, and perfect if you want color without painting your walls.
What To Look For
- Small, dense speckle patterns hide scuffs and stray hair like a pro.
- Neutral base with muted chips keeps it adult, not preschool.
- Thicker wear layer if you’ve got pets who love bathroom tiles.
Pair with brass hardware and a ribbed vanity for a trendy-but-cozy feel. This choice shines when you want playful energy without going full rainbow.
7. Slate-Look Stone For Moody Spa Energy
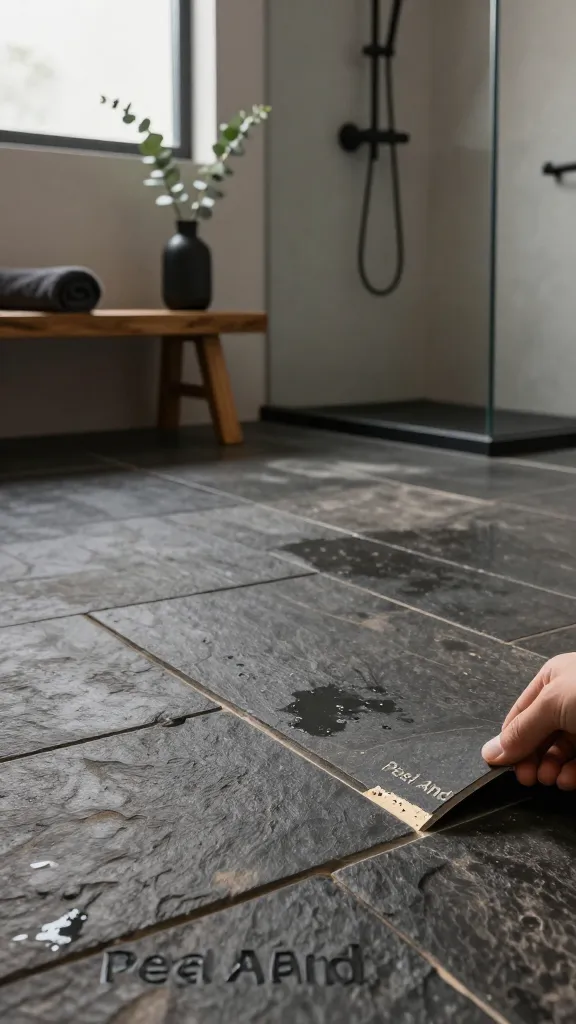
Love a moody, zen vibe? Slate-look tiles bring that natural, slightly rugged texture that screams spa day, every day.
Why You’ll Love It
- Subtle texture improves grip under wet feet.
- Charcoal and deep gray tones hide water spots and dust.
- Rectangular tiles laid brick-style look more natural.
Pair with eucalyptus greens and matte black fixtures. Use this when you want your bathroom to feel like a quiet retreat—no reservation required.
8. Bold Geometric Lines For a Statement Floor
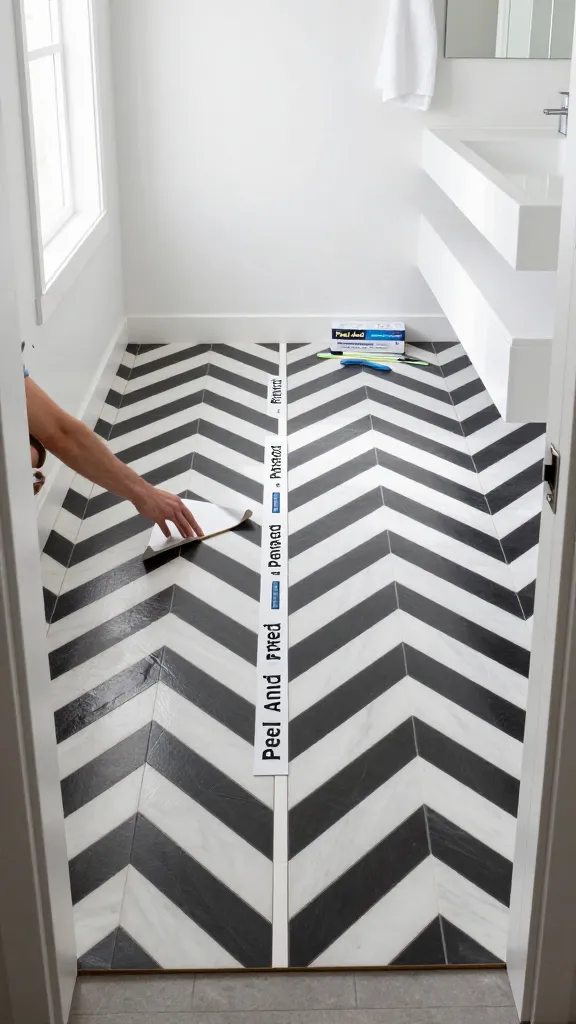
Ready to go dramatic? Graphic lines and chevrons in high-contrast colors turn your floor into a focal point and make minimalist spaces feel curated.
Installation Notes
- Use a centerline layout so patterns radiate evenly from the doorway.
- Keep walls and textiles simple to avoid design battles.
- Choose UV-stable prints if your bath gets direct sunlight.
Perfect for modern apartments or guest baths where you want an instant “wow.” IMO, this is the fastest route to a magazine-worthy look on a Tuesday night.
Prep Like a Pro (Read This Before You Peel)
- Surface matters: Clean with TSP or degreaser, then dry completely. Smooth, sealed subfloors stick best.
- Fix imperfections: Fill dips with floor patch and sand high spots. Uneven floors telegraph through tiles.
- Acclimate tiles: Leave boxes in the room for 24–48 hours so they don’t shrink or expand later.
- Roll it out: Use a floor roller or rolling pin to press edges and lock adhesive.
- Edge insurance: In splash-prone spots, add a bead of clear, flexible sealant along tub and toilet bases.
Choosing The Right Tile For Your Bathroom
- Small bath? Light colors and larger tiles reduce visual seams.
- High traffic? Look for a thicker wear layer (12–20 mil) and strong adhesive.
- Rental? Consider removable adhesive or add a subfloor underlayment panel for a no-damage install.
- Coastal humidity? Pick tiles rated for high-moisture and use perimeter sealant.
Quick Tools Checklist
- Utility knife with extra blades
- Metal straightedge and square
- Measuring tape and chalk line
- Floor roller or heavy book wrapped in a towel (DIY style)
- Degreaser/TSP, microfiber cloths
- Caulk gun with clear sealant (optional but recommended)
Common Mistakes To Avoid
- Skipping the dry fit: Always test layout before peeling.
- Installing over loose tiles: Remove or secure old flooring first.
- Ignoring the toilet footprint: Trace carefully and cut in small passes for a tight fit.
- Forgetting expansion gaps: Leave a tiny gap at walls and cover with quarter-round.
Ready to transform your bathroom without calling in reinforcements? These eight peel-and-stick options deliver serious style, fast installs, and renter-friendly flexibility. Pick your vibe, prep like a pro, and enjoy that “new bathroom” feeling every single morning. Seriously, you’ve got this.