Cold Frame Gardening: How to Extend Your Growing Season Successfully
Cold frame gardening is a simple and effective way to extend the growing season by protecting plants from frost and cold weather. A cold frame is a low, transparent structure that traps sunlight to warm the soil and air, allowing plants to grow even when temperatures drop. This method helps gardeners start seeds early, grow cool-weather crops, and keep plants healthy later in the fall or through mild winters.
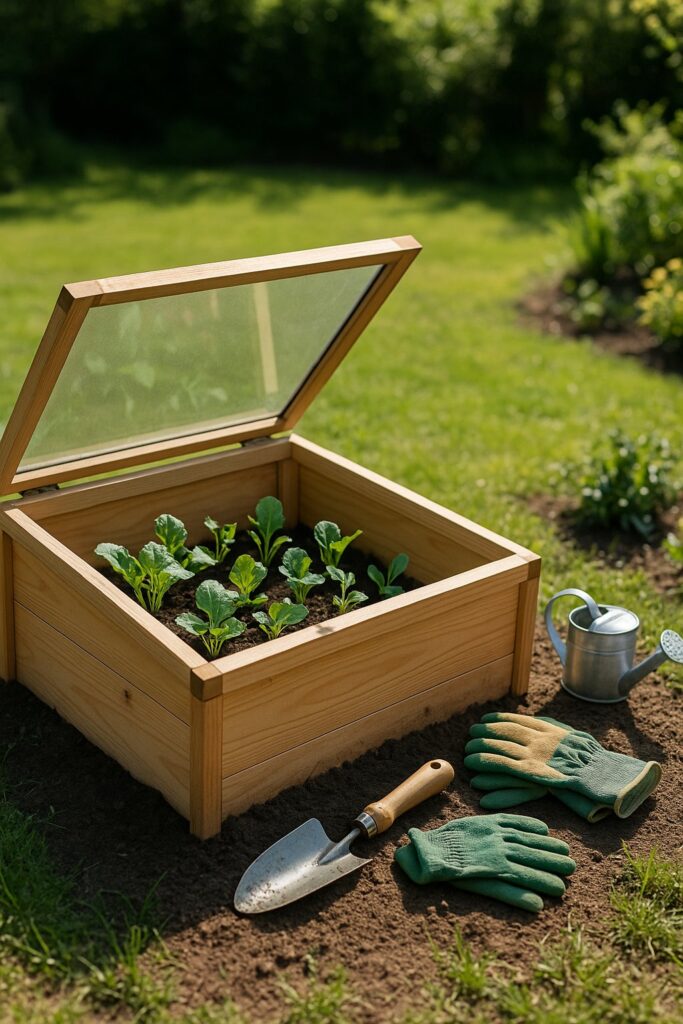
Using a cold frame requires minimal space and can be built with common materials such as wood and clear plastic or glass. Its design captures solar energy during the day and maintains a warmer environment inside, creating favorable conditions for a variety of vegetables and greens that might not survive outside during colder months.
Positioning a cold frame in full sun and ensuring proper ventilation are key to its success. With basic setup and regular care, a cold frame offers gardeners more control over growing conditions and the chance to enjoy fresh produce beyond the usual season. Learn how this practical addition can improve your garden’s productivity.
Key Takeaways
- A cold frame traps sunlight to warm plants and soil during cold weather.
- It can be built from simple materials and fits in small garden spaces.
- Proper placement and care help extend the growing season effectively.
What Is Cold Frame Gardening?
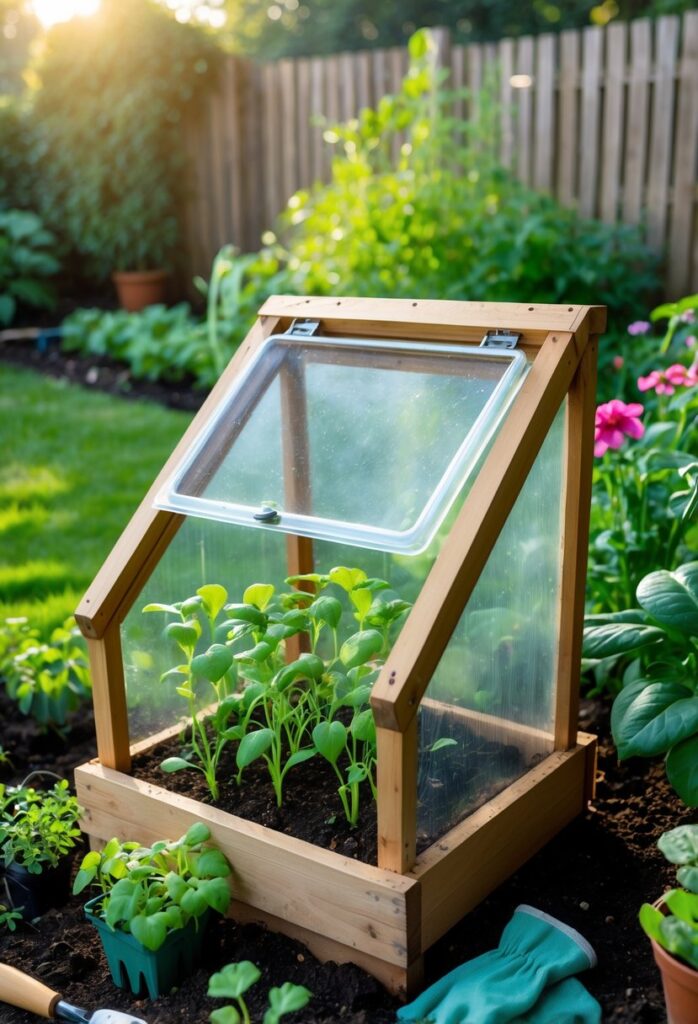
Cold frame gardening uses simple structures to create a warmer, controlled environment for plants. It helps gardeners start seeds early, protect crops from frost, and grow cool-season vegetables longer. The key is harnessing solar energy to maintain heat inside while blocking cold air outside.
Purpose and Benefits of Cold Frames
Cold frames protect plants from cold temperatures, especially frost, allowing an extended growing season. They are useful for starting seedlings before outdoor planting is safe. This helps gardeners get a head start on spring crops and extend harvests into late fall or winter.
Besides frost protection, cold frames conserve warmth by trapping solar energy. That warmth helps seeds germinate faster and young plants grow more steadily. They also reduce the need for electrical heating, lowering energy costs. Cold frames are low-cost, easy to build, and fit well into small gardens.
How Cold Frames Work to Extend the Season
Cold frames work by using a clear cover, often glass or plastic, placed on top of a low, insulated box. When sunlight hits the cover, the air inside warms up and stays trapped, creating a mini greenhouse effect.
The structure’s design maximizes heat during the day and retains warmth overnight. Placing the cold frame in a sunny spot, facing south, improves heat absorption. Ventilation can be adjusted to prevent overheating on warm days. This controlled microclimate allows plants to survive cooler temperatures outside.
Key Differences vs. Greenhouses
Cold frames differ from greenhouses mainly in size and complexity. They are smaller and simpler, usually only a few feet tall, with no standing room inside. Greenhouses are larger structures designed for long-term plant growth and often include heating and automated ventilation.
Cold frames rely mostly on passive solar energy, while greenhouses may use supplemental heating and climate controls. Cold frames tend to be more affordable and easier to set up but are less versatile for large or tropical crops. Greenhouses suit year-round growing at a bigger scale, while cold frames focus on season extension and early seed starting.
For more detailed techniques and seasonal tips, see this guide on cold frame gardening in 2025.
Choosing the Right Cold Frame for Your Garden
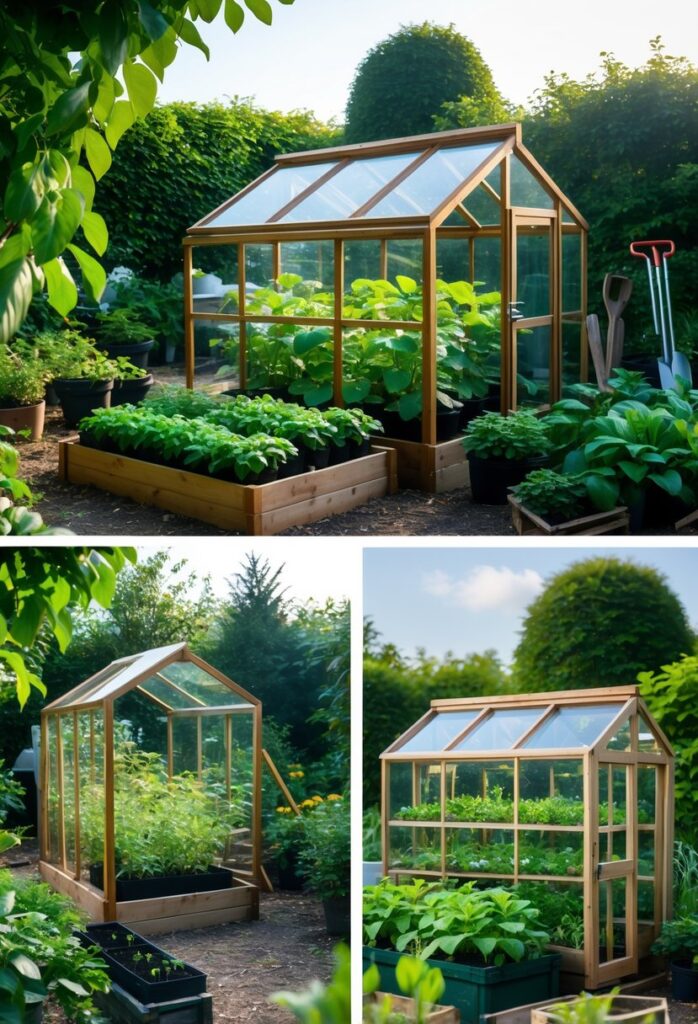
Selecting a cold frame involves understanding different styles, how they fit into your gardening goals, and the space you have available. The decision also includes whether to buy a ready-made frame or build one yourself, plus thinking carefully about the size and where to place it for the best results.
Types of Cold Frames
Cold frames come in various forms, each with unique benefits. Traditional cold frames have a simple wooden or metal frame and a clear cover, offering durability and easy access. Mini cold frames are smaller and portable, ideal for limited spaces or starting seedlings.
Automatic ventilation cold frames include vents that open and close on their own to manage temperature, which helps prevent overheating without constant attention.
Portable cold frames are lightweight and easy to move, making them perfect for seasonal use or shifting to different garden spots.
Knowing the specific function needed, like seed starting or frost protection, helps in picking the right type for your garden setup.
Ready-Made vs. DIY Cold Frames
Ready-made cold frames offer convenience and uniform quality. They often come with options like automatic vents or durable materials such as polycarbonate. These are good for gardeners who want quick setup and low maintenance.
DIY cold frames allow customization tailored to specific garden dimensions or plant needs. Builders can reuse materials like wood or old windows, making it more economical and eco-friendly.
DIY options need time and some skill but provide flexibility in size, shape, and materials. Gardeners who enjoy hands-on projects will find building a cold frame rewarding and suited to their exact requirements.
Cold Frame Size and Placement Considerations
Size depends mainly on how many plants and what types are intended for growing. A cold frame that’s too small limits planting options, while a very large one can be hard to manage or move.
Common sizes range from about 2×2 feet for mini frames to 4×8 feet or more for full-sized raised bed covers.
Placement should ensure 6-8 hours of sunlight daily, ideally on a south-facing side for northern climates.
It’s important to position the cold frame where it’s protected from strong winds and near a water source for easy care.
Elevation and drainage matter too; placing the frame on level ground with well-drained soil prevents water buildup and root problems.
Using these guidelines, gardeners can optimize their cold frame’s effectiveness for healthy plants and longer seasons.
For detailed insights on building and types of cold frames, see cold frame gardening advice at The Ultimate Homestead and for construction tips, visit The Old Farmer’s Almanac.
Materials and Construction Essentials
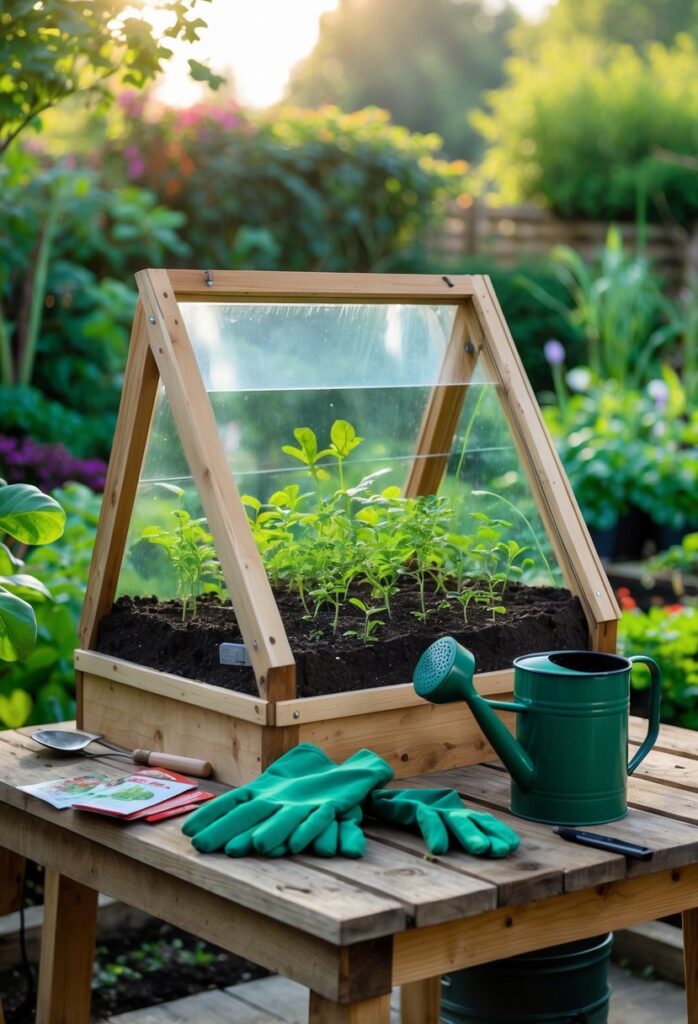
Building a cold frame requires choosing the right materials and following key construction steps to ensure durability and effective protection for plants. Proper insulation and weatherproofing also play a critical role in maintaining the right conditions inside the frame throughout changing weather.
Best Materials for Building Cold Frames
The main structure of a cold frame is usually made from wood because it is easy to work with and widely available. Pressure-treated lumber or hardwood scraps last longer outdoors. Avoid wood treated with harmful chemicals if the frame will sit directly on soil.
For the lid, clear materials like glass or plexiglass are best. Glass offers good insulation but is heavier and can break. Plexiglass is lighter, durable, and allows plenty of sunlight to reach plants. DIY cold frames often use old windows or shower doors for lids.
Other materials that can help include bricks or concrete blocks for a strong base. Simple tools such as wood screws, hinges, a drill, and a screwdriver are also needed.
How to Build a Cold Frame Step-by-Step
Start by cutting the wood to size for the frame base. Next, assemble side and corner boards into a rectangular box.
Attach the sloped top boards to create a slight angle for sunlight. Then, fix the lid with hinges so it can be easily opened for ventilation.
Add lid supports inside the frame to prop the lid open on warm days. Handles can be screwed on the lid edges for easier lifting.
Drilling pilot holes before screwing helps prevent wood from splitting. Position the frame in a sunny spot with well-drained soil.
Insulation and Weatherproofing Tips
Good insulation keeps your plants warm during cold nights. Use thicker glass or plexiglass to reduce heat loss.
Applying a coat of non-toxic paint to the wooden frame can protect it from moisture and extend its life.
Sealing gaps along joints with weatherstripping or silicone prevents cold air from getting inside.
On very cold nights, placing straw or mulch around the frame’s base adds extra insulation.
Ventilate by opening the lid during sunny days to prevent overheating and reduce humidity inside the frame.
For more detailed building guidance, see this how to build a cold frame guide.
Cold Frame Garden Preparation and Setup
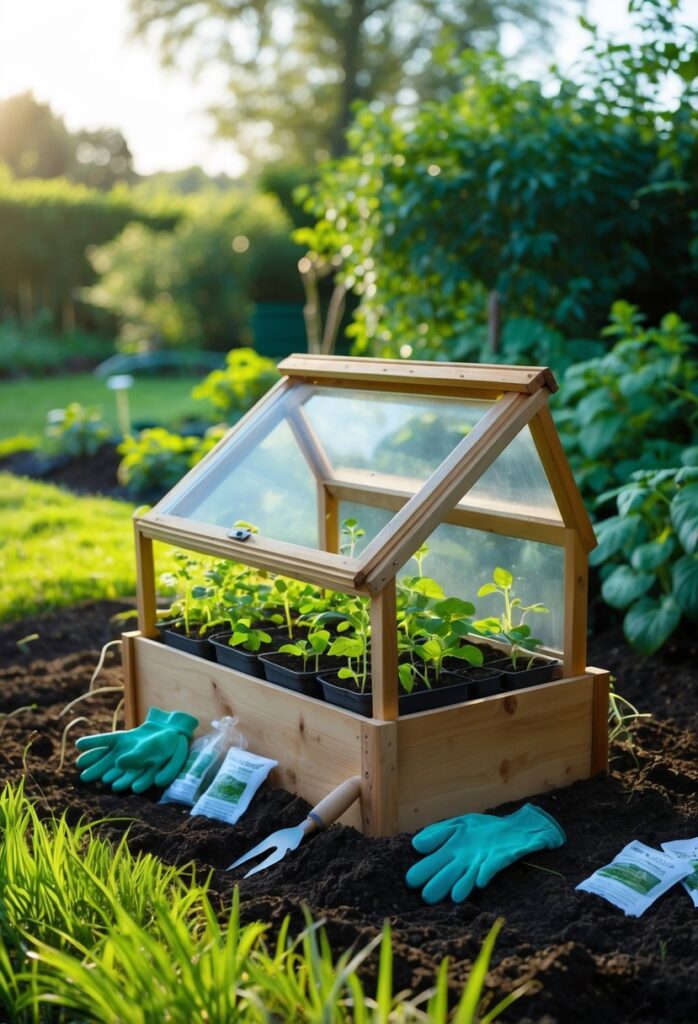
Proper preparation and setup are key for a cold frame to function well. The right location helps capture sunlight, while soil quality impacts plant growth. Managing air flow and temperature inside the frame keeps plants healthy as they grow.
Selecting the Optimal Location
The cold frame should face south in the Northern Hemisphere to catch at least six hours of direct sunlight daily. This exposure maximizes solar energy, warming the soil and air inside.
It must sit on level, well-drained ground. Uneven or wet areas can cause water to pool and damage plants.
Placing the frame near a windbreak, such as a fence or wall, helps protect it from cold winds that can lower internal temperatures quickly. This reduces heat loss and creates a more stable environment.
Avoid shaded spots under trees or buildings, since lack of sunlight limits how much the cold frame can warm up during the day.
Soil Preparation and Compost Integration
Fill the cold frame with loose, well-draining soil to promote root growth. Adding about 2 to 3 inches of compost improves nutrients and moisture retention.
Mix the compost thoroughly into the top layer to enrich the soil. Compost helps maintain healthy plants by slowly releasing nutrients as they grow.
Good soil structure inside the cold frame enables better heat absorption from the sun. Darker, rich soil absorbs and holds more solar heat, creating a warmer microclimate.
Avoid compacted soil, as it prevents air and water movement and may harm seedlings.
Ventilation and Temperature Management
Cold frames trap heat during the day but can overheat if closed tightly. Proper ventilation is essential to prevent plant stress.
Opening the lid or raising the glazed panel during warm hours lets excess heat escape and fresh air circulate. This lowers humidity and reduces the risk of mold or fungus.
Use small props or adjustable hinges to easily control airflow based on temperature changes.
At night or cold days, close the frame fully to keep heat in. Adding mulch inside offers extra insulation when temperatures drop.
Regularly monitor inside temperature with a thermometer to maintain ideal growing conditions.
What to Grow in a Cold Frame
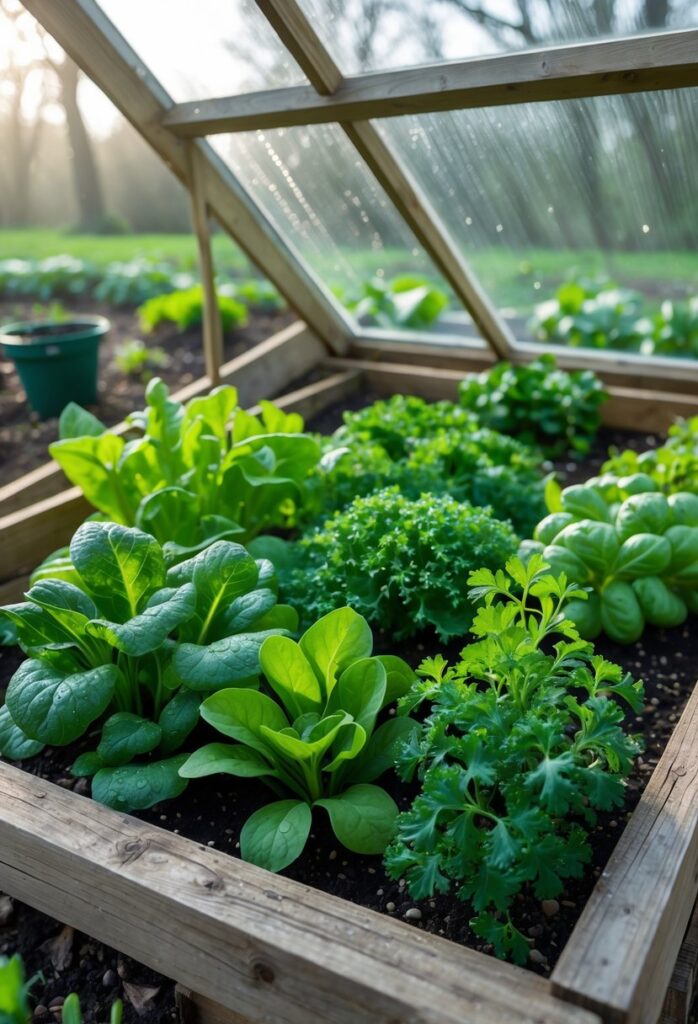
Cold frames provide protection from harsh weather and allow gardeners to grow cool-season crops longer. They are great for growing hardy greens, root vegetables, and starting seeds early. Cold frames also support succession planting to keep the harvest steady and help young plants toughen up before moving outdoors.
Ideal Cool-Season Vegetables
The best crops for cold frames are those that tolerate cold and frost. Kale, lettuce, arugula, spinach, and scallions thrive in these conditions. These leafy greens often taste better after a light frost, as cold can increase their sweetness or reduce bitterness. Root vegetables like carrots also do well. Carrots remain in the soil longer and develop better flavor during cold weather.
Cold frames help keep soil temperatures stable, so crops like kale can grow down to 15°F, while spinach can handle even lower temperatures. It’s important to avoid warm-weather crops like tomatoes or basil since they do not survive freezing nights.
Seed Starting Techniques
Cold frames warm the soil and air enough to start seeds earlier than outdoor beds. Before planting, it’s best to set the cold frame in place for a couple weeks to let the sun heat the soil.
Gardeners can sow seeds for kale, spinach, lettuce, and carrots directly in soil or in small containers inside the frame. Seeds benefit from the stable temperature and moisture control. Using a fine seed-starting mix and keeping soil evenly moist encourages strong seedlings.
Ventilation is key. On sunny days, opening the cold frame prevents overheating. Covering seedlings with light row covers inside the frame can protect from cold snaps while still letting air circulate.
Succession Planting in Cold Frames
Succession planting inside cold frames helps extend the harvest. After one crop is harvested, another can be quickly planted in its place. This method works well with fast-growing greens like arugula and lettuce.
Using succession planting, gardeners can sow seeds every 2-3 weeks to keep fresh greens available through fall and winter. Root crops like carrots take longer, so it’s good to plant them early and interplant with quick maturing lettuces or scallions.
Keeping soil healthy between crops by adding compost and loosening it improves plant growth. Regular planting refreshes the frame’s yield and maximizes the growing season.
Transitioning from Cold Frame to Garden
Plants grown in cold frames need time to adjust before outdoor planting. This process is called hardening off. It reduces shock from wind, sun, and cooler temperatures.
To transition, gardeners gradually expose seedlings to outdoor conditions. Starting with a few hours outside or in a shaded spot, then increasing time over 7-10 days works best. This toughens plants like kale and spinach.
Once hardened off, plants can be moved to garden beds. Cold frames give plants a head start early in spring or extend the season well into fall. Proper transition ensures strong growth and better survival outdoors.
Seasonal Care and Maintenance Tips
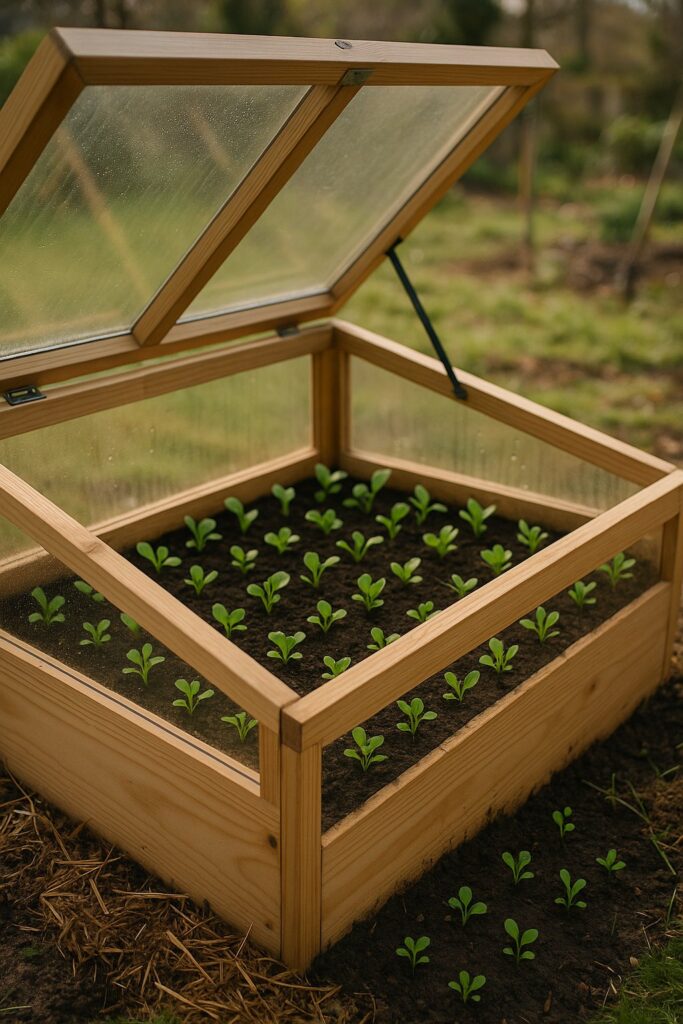
Maintaining a cold frame requires regular attention to watering, cleaning, and handling common problems. Proper care helps plants stay healthy and ensures the cold frame works efficiently through changing weather.
Watering and Moisture Management
Keeping the right moisture level inside a cold frame is essential. Water plants early in the day to avoid excess moisture overnight, which can promote mold and mildew. Check the soil regularly; it should be damp but not soggy.
Ventilation helps control humidity and prevents water build-up. On sunny days, opening the cold frame lid slightly lets fresh air in and reduces condensation.
Using a watering can with a fine nozzle helps avoid disturbing seedlings or soil. Avoid overhead watering that can splash dirt onto leaves, increasing disease risk.
Mulching with straw or leaves inside the cold frame can keep moisture steady and reduce watering frequency, especially in cooler months.
Cleaning and Routine Checks
Regular cleaning keeps the cold frame clear and working well. Remove dirt, debris, and old leaves from the inside to prevent pests and diseases.
Clean the glass or plastic lid with mild soap and water every few weeks to ensure good sunlight penetration. Dirty covers reduce warmth and slow plant growth.
Check the structure for cracks or loose parts, especially before winter. Tighten hinges and replace weathered seals to keep cold air out and warmth in.
Clear snow and leaves off the lid routinely to avoid damage and maintain light flow. Inspect the soil for signs of mold or pests and remove any affected plants quickly.
Troubleshooting Common Issues
If plants inside the cold frame look weak or yellow, it might be too hot or too cold. Use vents or extra coverings to balance temperature.
Watch for pests like aphids or slugs, which can hide in the warmer environment. Hand-pick pests or use natural remedies to control infestations early.
If mold appears on soil or plants, increase ventilation and reduce watering. Adding a small fan or exposing the cold frame more on windy days can help.
Uneven plant growth often signals inconsistent watering or light. Rotate the cold frame or reposition it toward better sun exposure to solve this.
For details on building and managing cold frames, visit guides on cold frame gardening.
Frequently Asked Questions
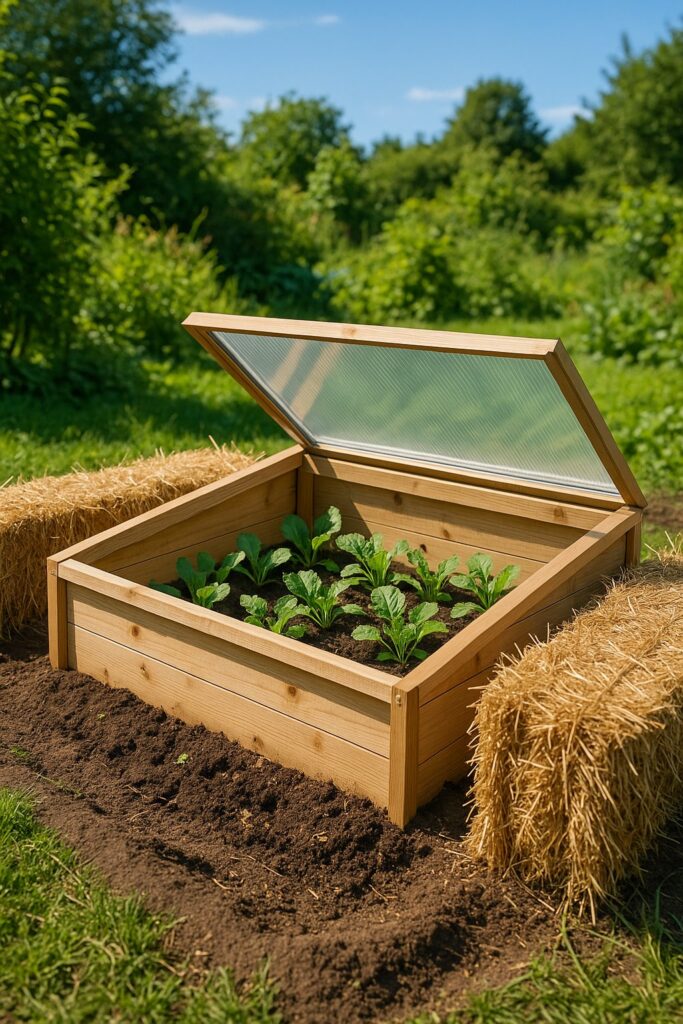
Cold frame gardening uses simple materials and smart placement to create warmer growing conditions. Understanding how to build, maintain, and use cold frames helps gardeners get the most from their growing season. Practical tips for construction, plant care, and drainage are important for success.
What are the best materials to use for constructing a DIY cold frame?
Wood is a popular choice for building the frame because it is easy to work with and widely available. Old windows or clear plastic sheets work well for the top because they let sunlight in. Polycarbonate panels offer better insulation in colder regions.
Can you provide tips for maximizing plant growth within a cold frame in Zone 5?
Position the cold frame where it gets full sun, preferably facing south. Use double-wall polycarbonate or add extra insulation like straw bales to keep heat in during cold nights. Vent the frame daily on warm days to prevent overheating and maintain fresh air.
How does a cold frame differ from a traditional greenhouse in terms of plant cultivation?
Cold frames trap heat from the sun but do not have artificial heating like greenhouses. They are smaller and simpler structures mainly for frost protection and season extension. Greenhouses allow for year-round growing with more climate control.
What are some cost-effective ways to build a cold frame for my garden?
Repurposing old windows or doors is an inexpensive option. Straw bales can create insulated walls without complex building. Using cinder blocks for the frame and clear plastic for the lid also keeps costs low.
Are there any disadvantages to using a cold frame for gardening?
Cold frames offer limited space, restricting the number and size of plants. They require daily venting to control temperature and humidity. Instead of heating, they rely entirely on sunlight, which limits growing in very cold or cloudy climates.
What should I place at the bottom of a cold frame to ensure proper drainage and insulation?
A layer of soil mixed with organic matter like compost helps with drainage and adds nutrients. Some gardeners add straw or leaves for insulation under the soil. Ensuring slight slope or raised beds under the cold frame improves water runoff and prevents puddling.
